You have a list of businesses, members, or locations. You want people to search and browse them on your website.
EmbedDirectory is a searchable, filterable directory that embeds on any site. Works on WordPress, Squarespace, Shopify, Wix, Webflow, and any platform that supports HTML.

Create My Directory See Examples
Step 1: Set Up Your Fields
Every listing has a name, description, and address by default. Add more fields for whatever your directory needs: links, phone numbers, categories, images, and social profiles.
- Go to Listing Fields
- Click Add Field, pick a type, and save
See the full field types guide for details. You can always add or reorder fields later.
Step 2: Add Your Listings
From a spreadsheet: go to Import, upload a CSV, map your columns, and import. See Import from Spreadsheet.
Manually: go to Manage Listings, click Add New Listing, fill in your fields, and save.
From Google Sheets: connect a Google Sheet and keep your directory in sync automatically. See Google Sheets Sync.
Step 3: Set Up Search and Design
- Go to Widget Settings
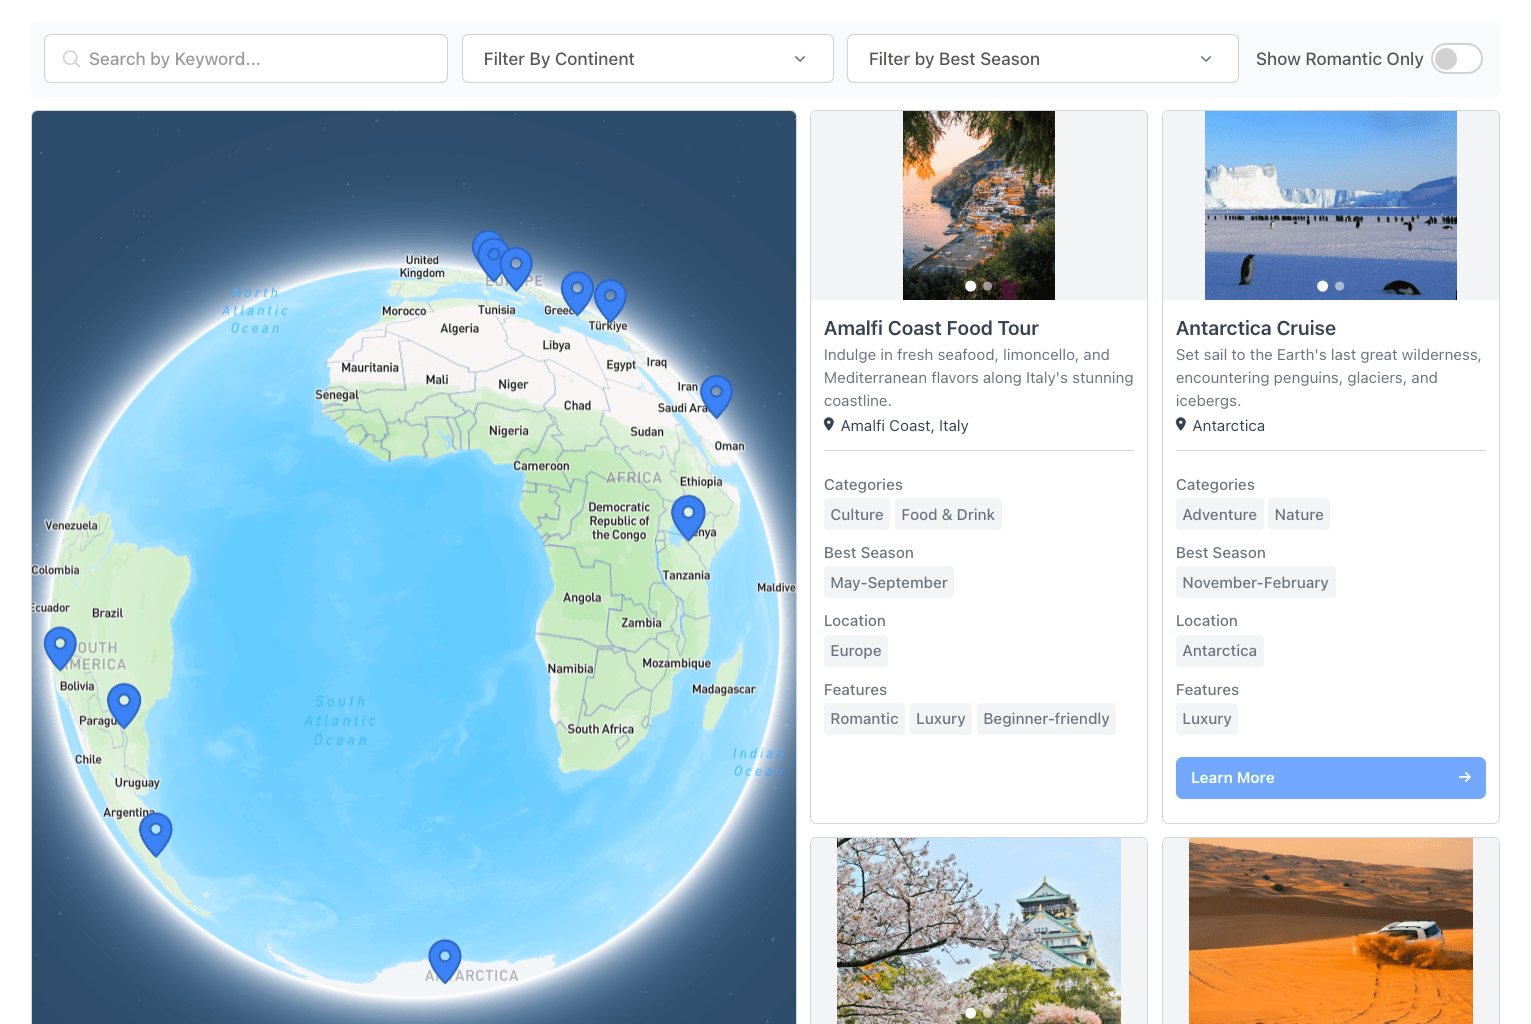
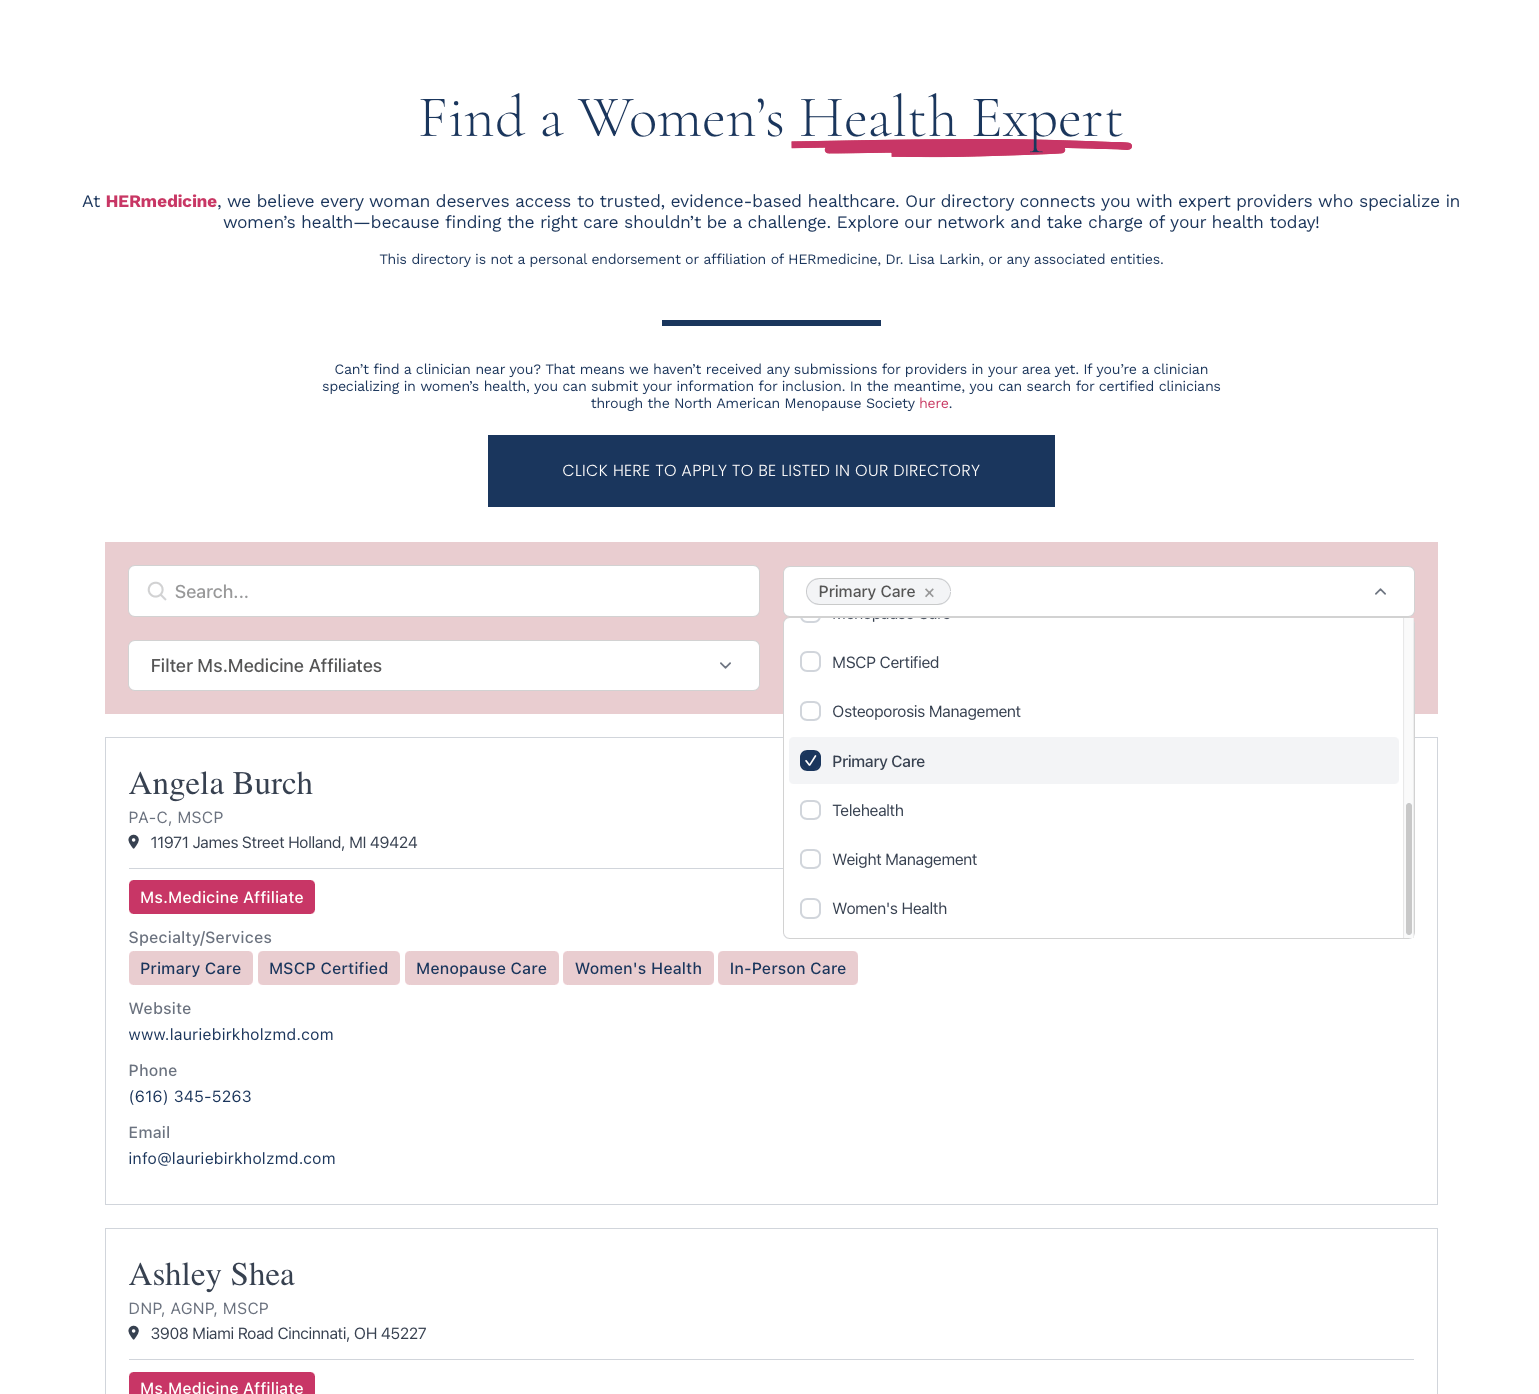
- Choose a layout (grid, list, table, or map view)
- Add search and filters so visitors can find what they need
- Set your brand colors and styling
Search options include keyword search, category dropdowns, location radius, range sliders, and toggle filters. Drag to reorder and customize labels.
Step 4: Embed on Your Website
- Go to Embed
- Copy the embed snippet
- Paste it into your website
One copy-paste and your directory is live.
Where to paste it:
- Any website: paste the snippet into your page's HTML where you want the directory to appear.
- WordPress: paste into a Custom HTML block. See WordPress Guide.
- Squarespace: paste into a Code Block. See Squarespace Guide.
- Shopify: paste into a page or Custom Liquid section. See Shopify Guide.
- Wix: add an HTML embed element and paste the code. See Wix Guide.
- Webflow: add an Embed element and paste the code. See Webflow Guide.
Go Further
Map
Show your listings on an interactive map:
- Make sure listings have addresses
- Go to Map Settings and enable map features
- Create a free Mapbox account and add your access token
- Set your map style, marker colors, and clustering
Mapbox offers a free tier. Check Mapbox pricing for current limits.
Accept Submissions via Form Builders
Let visitors submit listings for your review by connecting a form builder. Each submission goes to your approval queue. Nothing goes live until you approve it.
See the form builder integrations overview to choose between JotForm, Typeform, and Tally.
Automate with Zapier
Connect your directory to thousands of apps and create or update listings automatically. See the Zapier guide.